Traveler's Guide to Safe Strength: 45 Resistance Band Tips to Prevent Injury and Stay Fit Anywhere
Resistance bands are a traveler’s best friend—lightweight, compact, and effective for maintaining strength on the go. But without proper technique, even simple band exercises can lead to strain or injury. Whether you're in a hotel room, airport lounge, or remote destination, these 45 science-backed strategies will help you train safely, effectively, and sustainably—anywhere in the world.
Why Resistance Bands Are Ideal for Travelers
Resistance bands offer scalable strength training without bulky equipment. They’re proven to build muscle, improve joint stability, and boost metabolism—key benefits for long-term health, especially for women who reduce heart disease risk through regular training (NPR, 2024). But like any tool, misuse increases injury risk. These tips ensure you get results without setbacks.

Warm Up Properly (Tips 1–5)
- Dynamic Stretch First: Perform arm circles, leg swings, and torso twists for 3–5 minutes to activate muscles and improve blood flow.
- Use Lighter Bands Initially: Begin with a lighter resistance to prime joints and tendons before progressing.
- Mimic Movement Patterns: Do bodyweight squats or push-ups to prepare your body for band-assisted versions.
- Avoid Cold Starts: Never begin intense band work in cold environments—layer up or warm up indoors.
- Focus on Form, Not Force: Prioritize smooth motion over resistance during warm-up sets.
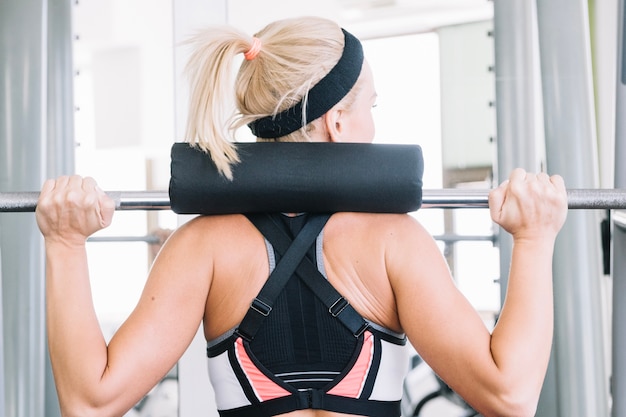
Master Proper Technique (Tips 6–15)
- Anchor Securely: Ensure door anchors are closed tightly and bands aren’t frayed. Test tension before pulling.
- Control the Eccentric: Resist the band’s return—don’t let it snap back. This builds strength and prevents joint strain.
- Engage Your Core: Maintain a braced abdomen during all exercises to protect your spine.
- Align Joints: Keep knees over toes in squats; wrists straight during presses.
- Use Full Range of Motion: Move through safe, complete ranges to improve flexibility and strength.
- Avoid Overstretching Bands: Never stretch beyond 2.5x their resting length to prevent snapping.
- Keep Shoulders Down: Prevent shrugging during rows or presses to reduce neck strain.
- Modify for Joint Sensitivity: Reduce resistance if you feel joint pain—especially in shoulders or knees.
- Use Mirrors or Video: Check form when possible, especially in new environments.
- Don’t Lock Joints: Maintain a slight bend in elbows and knees to avoid hyperextension.
Adapt to Your Environment (Tips 16–25)
- Inspect Anchor Points: Use sturdy doors or poles—avoid loose furniture or unstable fixtures.
- Carry a Door Anchor: Ensure compatibility with your band and hotel doors.
- Use Towels for Padding: Wrap bands around hands or under knees to prevent pinching.
- Adjust for Space: Choose seated or standing moves that fit your room size.
- Train on Non-Slip Surfaces: Use yoga mats or towels to prevent slipping during lunges or planks.
- Stay Hydrated: Dry climates (e.g., planes, deserts) increase muscle cramp risk—drink water before and after.
- Account for Altitude: At high elevations, reduce intensity—your body works harder to oxygenate.
- Pack Multiple Resistance Levels: Have light, medium, and heavy bands to adjust based on fatigue or injury history.
- Use Hotel Furniture Wisely: Chairs for step-ups, beds for elevated feet in presses—just ensure stability.
- Limit Outdoor Use in Sun: UV rays degrade latex—store bands in shade or indoors.
Prevent Overuse and Imbalances (Tips 26–35)
- Balance Push and Pull Movements: For every chest press, do a row to prevent shoulder issues.
- Train Both Sides Equally: Perform unilateral exercises (e.g., single-arm rows) on both sides.
- Limit Reps Per Session: Stick to 3 sets of 10–15 reps to avoid tendon fatigue.
- Rest Between Sessions: Allow 48 hours before targeting the same muscle group.
- Listen to Pain Signals: Sharp or joint pain means stop—don’t push through.
- Stretch After Training: Focus on major muscle groups used—hamstrings, chest, shoulders.
- Avoid Repetitive Motions: Rotate exercises weekly to prevent overuse injuries.
- Use Bands for Mobility: Incorporate banded shoulder dislocates or hip openers.
- Monitor Skin Contact: Check for irritation, especially with latex bands—consider fabric-covered options.
- Replace Worn Bands: Discard if you see cracks, tears, or loss of elasticity.
Travel-Specific Adjustments (Tips 36–45)
- Train After Jet Lag Adjustment: Wait until your body clock stabilizes for intense workouts.
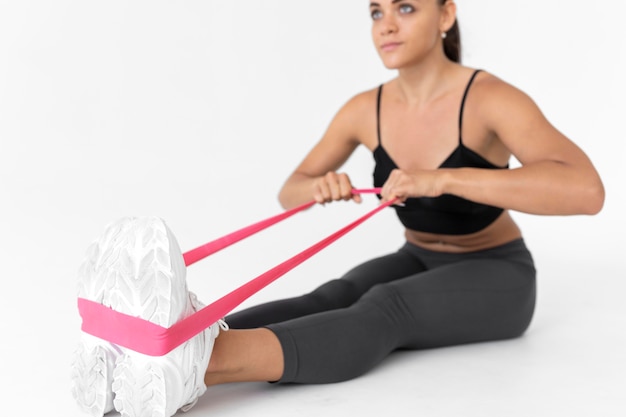
- Use Bands on Long Flights: Perform ankle circles, leg extensions, or shoulder pulls to improve circulation.
- Pack Bands in Carry-On: Avoid checked luggage loss—keep them accessible.
- Choose Fabric-Covered Bands: More durable and less likely to snap in varying climates.
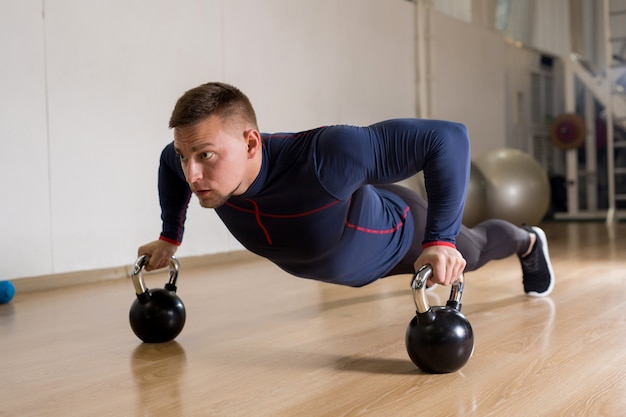
- Combine with Bodyweight Exercises: Mix squats, planks, and band rows for full-body efficiency.
- Use Apps for Guidance: Follow structured routines to avoid random, risky movements.
- Keep a Mini First Aid Kit: Include tape or bandages in case of minor skin friction.
- Stay Consistent, Not Extreme: Focus on maintenance, not max strength, while traveling.
- Adapt for Limited Time: Do 10-minute circuits if you’re short on schedule.
- Stay Mindful of Surroundings: Ensure space behind you when pulling bands to avoid accidents.
Resistance bands are powerful tools when used correctly. By following these 45 strategies, travelers can build strength, enhance mobility, and reduce injury risk—no gym required. Stay safe, stay consistent, and keep moving, no matter where you are.