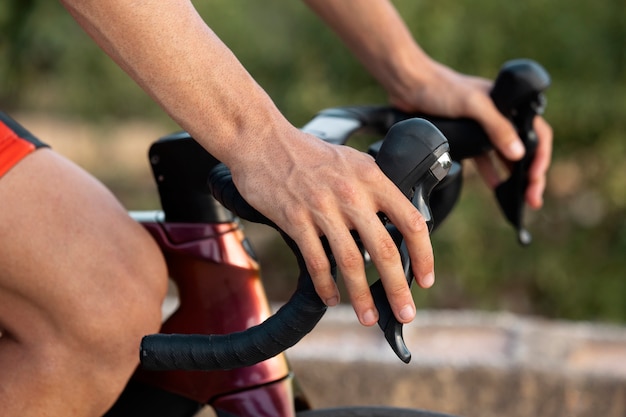
Cycling is a fantastic low-impact exercise that strengthens the heart, builds leg endurance, and supports joint mobility. However, repetitive motion, prolonged posture, and muscle imbalances can lead to joint strain—especially in the knees, hips, and lower back. One of the most effective yet underutilized tools for joint protection in cyclists is myofascial release (MFR). By releasing tension in the fascia—the connective tissue surrounding muscles—you can improve flexibility, reduce inflammation, and enhance joint function.
In this guide, we’ll explore 7 science-backed myofascial release techniques specifically designed for cyclists. We’ll also show you how to start quickly, stay consistent, and measure your progress weekly for lasting results.
Fascia is a web-like structure that surrounds and supports muscles, bones, and joints. When fascia becomes tight or restricted due to overuse or poor posture, it can pull on joints, limit range of motion, and contribute to pain. Cyclists often develop tightness in the quads, hip flexors, IT bands, and calves—all areas that directly impact joint mechanics.
Myofascial release helps break up adhesions, improve blood flow, and restore optimal tissue elasticity. Regular practice can reduce joint stress, prevent overuse injuries, and enhance overall cycling performance.
Tight quads can pull the kneecap out of alignment, increasing the risk of patellofemoral pain. Use a foam roller to release tension along the front of the thigh.
How to do it: Lie face down with the roller under your thighs. Support your weight with your forearms and slowly roll from the hip to just above the knee. Spend extra time on tender spots, holding for 20–30 seconds.
Frequency: 2–3 times per week, especially after long rides.
The iliotibial (IT) band runs along the outside of the thigh and can become tight from repetitive pedaling, leading to knee and hip discomfort.
How to do it: Sit on the floor with a massage ball placed under the outer thigh. Cross the opposite leg over to increase pressure. Roll slowly from the hip to the knee, pausing on tight areas.
Tip: Avoid aggressive rolling—use controlled pressure to prevent irritation.
Cyclists often have shortened hip flexors due to the forward-leaning riding position. This can tilt the pelvis and strain the lower back and hips.
How to do it: Use a lacrosse ball or small foam roller. Lie face down and place the ball just below the hip bone. Shift your weight to apply pressure and move in small circles to release tension.
Frequency: 3 times per week, post-ride or on rest days.
Tight glutes and piriformis muscles can compress the sciatic nerve and affect hip joint stability.
How to do it: Sit on a massage ball with it placed under one buttock. Cross the ankle over the opposite knee to deepen the stretch. Roll gently to find trigger points and hold for 20–30 seconds.
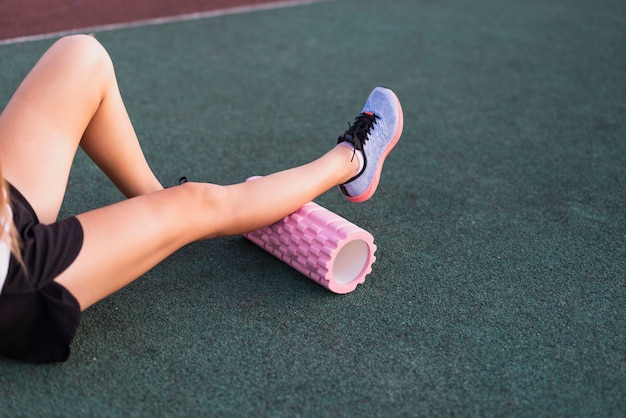
Tight calves can alter foot mechanics and increase stress on the ankle and knee joints.
How to do it: Sit with legs extended and place a foam roller under your calves. Lift your hips off the ground and roll from the ankle to the back of the knee. For deeper pressure, stack one leg over the other.
Prolonged cycling posture can lead to stiffness in the lower back. The thoracolumbar fascia plays a key role in spinal stability.
How to do it: Lie on your back with a foam roller placed horizontally under your lower back. Keep feet flat and gently roll side to side—not up and down—to avoid spinal compression.
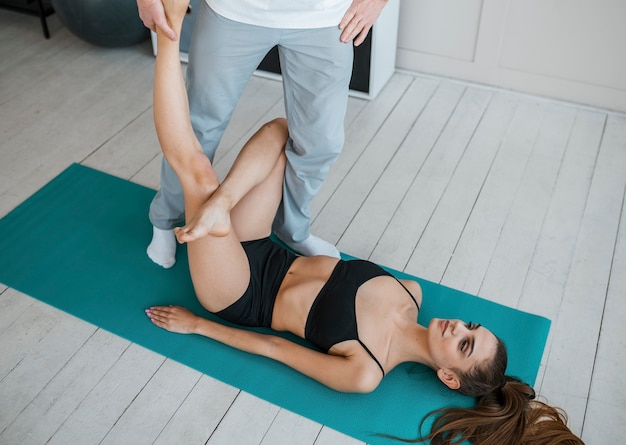
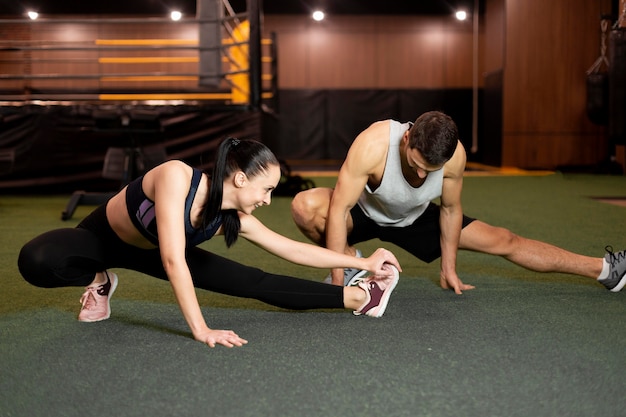
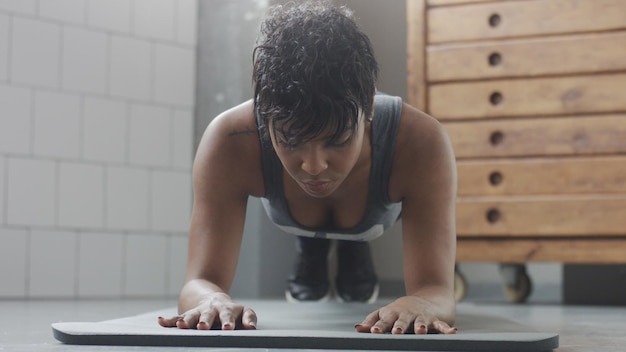
Myofascial release works best when followed by movement. After releasing tight areas, perform dynamic stretches like leg swings, hip circles, and bodyweight squats to reinforce improved mobility.
Why it matters: This helps retrain the neuromuscular system and ensures that gains in flexibility translate into functional joint protection.
The key to success with myofascial release is consistency. Here’s how to build a sustainable routine:
Over time, you’ll notice smoother pedal strokes, reduced joint stiffness, and fewer aches—clear signs your fascia is responding.
Myofascial release isn’t a quick fix—it’s a long-term investment in joint health and cycling longevity. By incorporating these 7 techniques into your routine, you’ll protect your joints, enhance performance, and ride with greater comfort and confidence.
Start today, stay consistent, and let your weekly progress guide your journey to a stronger, more resilient body.
Fitness
Fitness
Fitness

Fitness

Wellness
Wellness
Fitness
Fitness
Fitness
Fitness

Fitness

Fitness

Health
Fitness

Health

Health